![]()
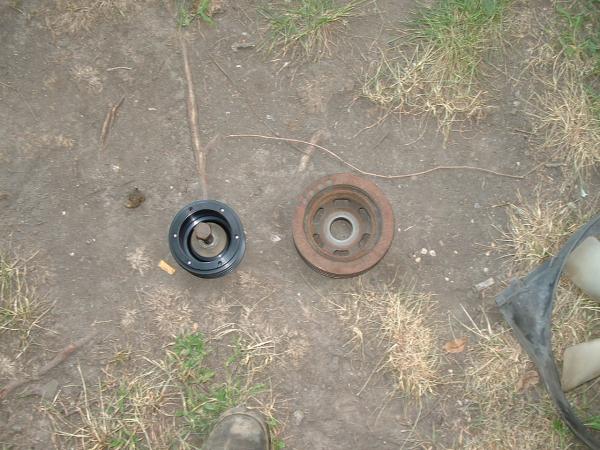
These are installation guidelines for the underdrive pulley from Avalanche Performance. The pulley is 4.5 inches in diameter as opposed to the stock 6 inch pulley. It is aluminum and anodized in black. The pulley includes a ridge on the outside for the installation of an EDIS tone ring. This allows EDIS to be used in conjunction with Megasquirt on a B230FT. I am not yet using it for that purpose, so there is no information in this guide about the EDIS portion of the pulley or how to install the sensor to read the tone ring. Use this guide at your own risk and use some common sense during installation.
For this installation, you need the underdrive pulley as well as shorter belts. The belts need to be roughly two inches shorter for each belt. I do not have air conditioning on my 760, so I only needed a belt for the power steering/water pump and for the alternator. The stock belts were both 1000mm in length (40 inch). I couldn't find two 38 inch belts, so I used a 950mm (37.5 inch) for the power steering/water pump and a 965mm (38 inch) for the alternator.

Use a Haynes manual or similar for anything you don't understand. I assume that you've done something of this magnitude before, so I may skip a few small items.
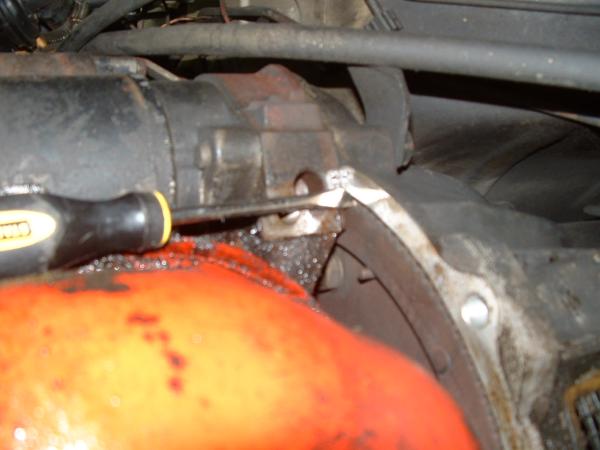
1. Put the front of the car on jackstands. From underneath, remove the flexplate/flywheel access plate. (This may not be the correct name for this part. It bolts on to the front of the bellhousing and surrounds the oil pan. Removing it gives access to the flexplate or flywheel.) The bolts are usually a 14mm head. There are six. Jam a screwdriver in the ring gear teeth on the starter side so that the flexplate/flywheel won't turn when you loosen the pulley bolt.
2. Remove the fan and fan shroud. The shroud is held on with two 8mm bolts at the top of the radiator. The fan is held on with four 10mm nuts.
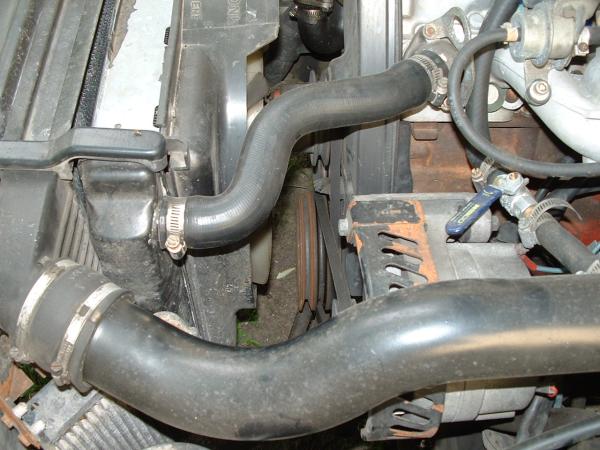
3. Break loose the crankshaft pulley bolt. Use a 24mm socket on a breaker bar. Once it's loose, remove the bolt. Then slide off the pulley and remove the old belts.
4. Loosen the alternator tensioner so that the new belt can be installed more easily. There is a 13mm nut holding the tensioner tight, and then the tensioner itself loosens with a 10mm socket.
5. Line up the new pulley with the key in the correct position. Tap it into place with your fist. Install the crankshaft pulley bolt and tighten it down by hand.
6. For tightening the pulley bolt, you will need to move the screwdriver to the other side of the ring gear (passenger side) and jam the teeth.
7. Finish tightening the crankshaft pulley bolt with a torque wrench set at 43 ft-lbs. Add an additional 60 degrees of tension with a breaker bar.
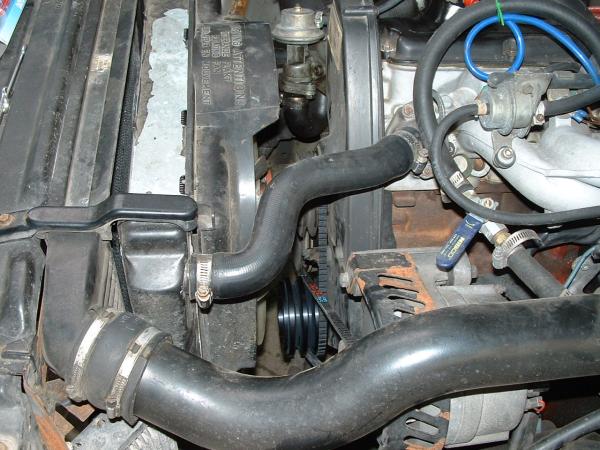
8. Now install the new belts. I found it easiest to install the power steering/water pump belt by removing the water pump pulley and sliding it back on with the belt in place. Nevertheless, some tensioning of the power steering pump may be necessary afterwards with a shorter belt.
9. Reinstall the alternator belt and retension the alternator.
10. Once the belts are tight, slide back underneath the car and reinstall the flywheel access plate. Don't forget to remove the screwdriver.
11. Reinstall the fan and fan shroud.
12. Start the car and make sure everything is functioning correctly.